Day 10: Turning A Page
- Heather Calvert
- Jan 15, 2021
- 3 min read
Updated: Jan 26, 2021
Side Sanding, Roof Improvements & Passing Inspection!
We are back to work on the horse trailer renovation with even more sanding. Today, however, feels like we are also starting the next chapter of progress. It also happens to be the change of the seasons!
Click the pheasant below to watch this week's video.
Now that the wheel wells and fenders are in good shape, I am moving up to focus on the sides, front, rear and second barn door. This exterior sanding phase will pave the way to finally apply fresh paint!


As I was working around the sides, my eagle eyes were spotting more areas that needed further sanding and filler on the wheel wells. Sadly, they would require another coat to get things perfect.
I began to mark all the spots with little bits of painter’s tape and let’s just say, it was a snowball effect. What started with just the wheel wells grew to the side doors and along both sides for the areas that needed attention so that I would not forget. It would provide a roadmap on where to work in the following days. I even drew arrows to point exactly to the spot incase the tape was not clear! Once I stood back and saw all of the tape, I cracked up! What can I say? I’m not called detail oriented and a perfectionist for nothing! I’m just going to embrace it.


Roof Improvements
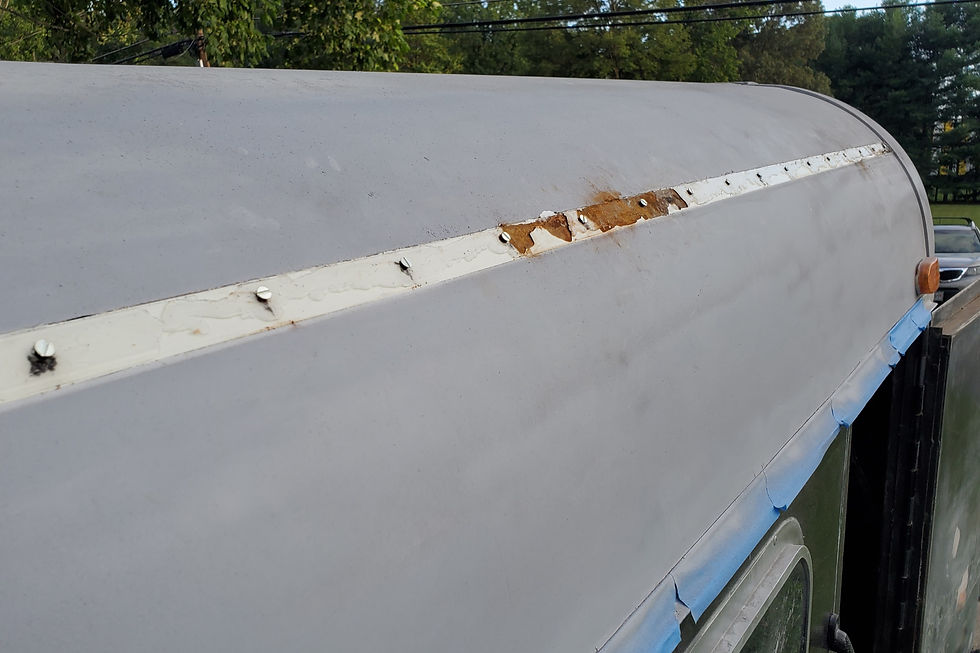
A few weeks ago when we were working on the roof to remove dents, it came to my attention that one side had a random metal channel above the rain ledge. I believe the trailer once had a pull-out awning for shade, but is now long gone.
I decided to unscrew the channel, scrape away the silicone that remained and chip off the paint that had rusted from underneath. I wanted to fill the screw holes and hide that there was ever this channel at all.


Over the last few refurb sessions, I worked on this in stages. Today I wanted to finish sanding, patch the screw holes and spray with protective primer.

That feeling of looking at the smooth, freshly primed surface and knowing how terrible it had looked a second before never gets old! I was happy with how it turned out.
MD State Inspection
While all the sanding work, frame undercoating and welding was happening, my step-dad, Marc, has been hard at work to get the trailer in a condition to pass the state MVA inspection in order for me to obtain permanent tags and a registration.
Part of the welding (on the fenders) and the rewiring of the lighting were all part of this checklist. Betsy was finally ready for inspection and as we took her in, we all held our breath! Sadly, the breakaway battery would not activate, so - she failed.
After buying a new battery, testing the various wires to be sure they were actually live and some magic handy work, the breakaway was now working. We dropped Betsy off again and this time - she passed! They recommended that we repack the brake bearings, but it was not cause for a failing mark.
SO relieved, I scheduled my appointment with the MVA and Marc kindly saw to the bearings.
Our next post will chronicle our journey to the MVA, keeping those pages turning!
Painter’s tape and coffee at the ready,
Heather
Comments